

3 Use Cases for Kubernetes Network Policies

Prerequisites
Previous knowledge about Kubernetes, you can check my previous articles on Kubernetes 101 and getting started with Kubernetes
Ensure you have
kubectlinstalled. You can check how to do that hereA Kubernetes cluster setup, DOKS(digital ocean Kubernetes), GKE(Google Kubernetes engine), EKS(Elastic Kubernetes service - aws) should do. You can also use minikube. Network policy rules are not applied out of the box on minikube, you will have to enable them. You can check here and here
Introduction
Imagine a scenario where you want to obtain data from the database. Your stack consists of a frontend application, two backend services(authentication and payment service) as well as a database. You don't want the payment service to be able to communicate directly to the database except for the authentication service or vice versa. How do you configure this in Kubernetes?
Kubernetes allows you to define policies that determine the flow of traffic between applications deployed in a cluster. These policies can either allow or reject the flow of traffic depending on the rules configured on them.
In this article, you will learn about network policies in Kubernetes, why you need them, the various use cases, and how they are enforced, evaluated and used in a cluster setup.
Why Network Policy
Defining how traffic flows in a Kubernetes cluster increases the security between services. It allows you to restrict access to specific applications. This can prevent unwanted traffic and access to your applications. By default Kubernetes allows pods to communicate with one another in a cluster, this means there is no isolation of pods. As your applications and teams grow, you will need to put measures in place to determine which traffic to allow or reject for the applications deployed in the cluster. With network policies, pods and deployments become isolated and only respond to the applications with the right access
Policy Enforcement
Kubernetes does not enforce the network policies you create out of the box. The policies are enforced by the network plugin implemented in the Kubernetes cluster and not all network plugins support network policies. Therefore, you need to ensure that the network solution implemented in your Kubernetes Cluster support it. You can check here for more info
Solutions that support Network Policies
Kube-router
Calico
Romana
Weave-net
Solutions that do not support Network Policies
- Flannel
Network Policy Use cases
There are several use cases for using network policy in a Kubernetes cluster. Ahmet Alp Balkan has a repository detailing different scenarios you can use.
There are two types of traffic flow
Ingress - Ingress is the incoming traffic to a pod
Egress - Egress is the outgoing traffic from the pod
1 - LIMIT traffic to an application
There are scenarios where you only want to allow traffic from a specific source. In the image below, the pod with label role=frontend is only allowed to request the backend pod. In this case, the backend API is only allowed to receive ingress traffic from the frontend pod.
To define this rule, create a YAML file and paste it into a file called limit-traffic.yaml
kind: NetworkPolicy
apiVersion: networking.k8s.io/v1
metadata:
  name: api-allow
spec:
  podSelector:
    matchLabels:
      app: bookstore
      role: api
  policyTypes:
  - Ingress
  ingress:
  - from:
      - podSelector:
          matchLabels:
            app: bookstore
Like all Kubernetes objects, the config is made up of the kind, apiVersion , metadata, and the spec section. Under the spec section, you select the pod you want to create a policy for. In this case, it's the pods with label app=bookstore and role=api. There are two policy types - Ingress and Egress. Since you only want to allow traffic from the pod with app=bookstore to request the backend API, you need to specify Ingress as the policyType as well as the from section
Before creating the policy and applying it to the cluster, create the API pod and expose it as a service. It should have labels app=bookstore, role=api
kubectl run nginx-server --image=nginx --labels=app=bookstore,role=api --expose --port 80
Then create another pod, login into the container, and try to access the nginx-server pod using the name
kubectl run test-pod --rm -i -t --image=alpine -- sh
Once you the pod is running in interactive mode, execute the command below to access the service
wget -qO- --timeout=2 http://nginx-server
You should get a timeout error because of incorrect pod labels

Now exec into the nginx-server pod and try to access the service. It should be fine because the pod has the right labels

2 - DENY traffic from other namespaces
There are scenarios where you want to restrict traffic to the namespace where your applications are deployed. An example is restricting traffic coming from test or dev namespace from going through production namespace in a cluster. You can do that by denying traffic from all other namespaces

From the image above, there are 3 namespaces: foo , default and bar . The database is deployed in the default namespace but you want to restrict traffic coming from the foo and bar namespaces. The only applications allowed to access the database are those from the default namespaces.
kind: NetworkPolicy
apiVersion: networking.k8s.io/v1
metadata:
  namespace: default
  name: deny-other-namespaces
spec:
  podSelector:
    matchLabels:
  ingress:
  - from:
    - podSelector: {}
The configuration above will create a network policy that will be applied to the default namespace. The policy is not restricted by labels in the pod but will match all pods in the namespace with different labels. Also, the ingress configuration shows that it can allow traffic from any pod since it's not restricted by the pod label.
Create a pod with the label app=web and expose it on port 80
kubectl run web --namespace=default --image=nginx --labels="app=web" --expose --port=80
Create another namespace called foo
kubectl create namespace foo
Try to access the web service from the new namespace by creating a temporary pod and trying to access it via wget or curl and you should get a timeout error
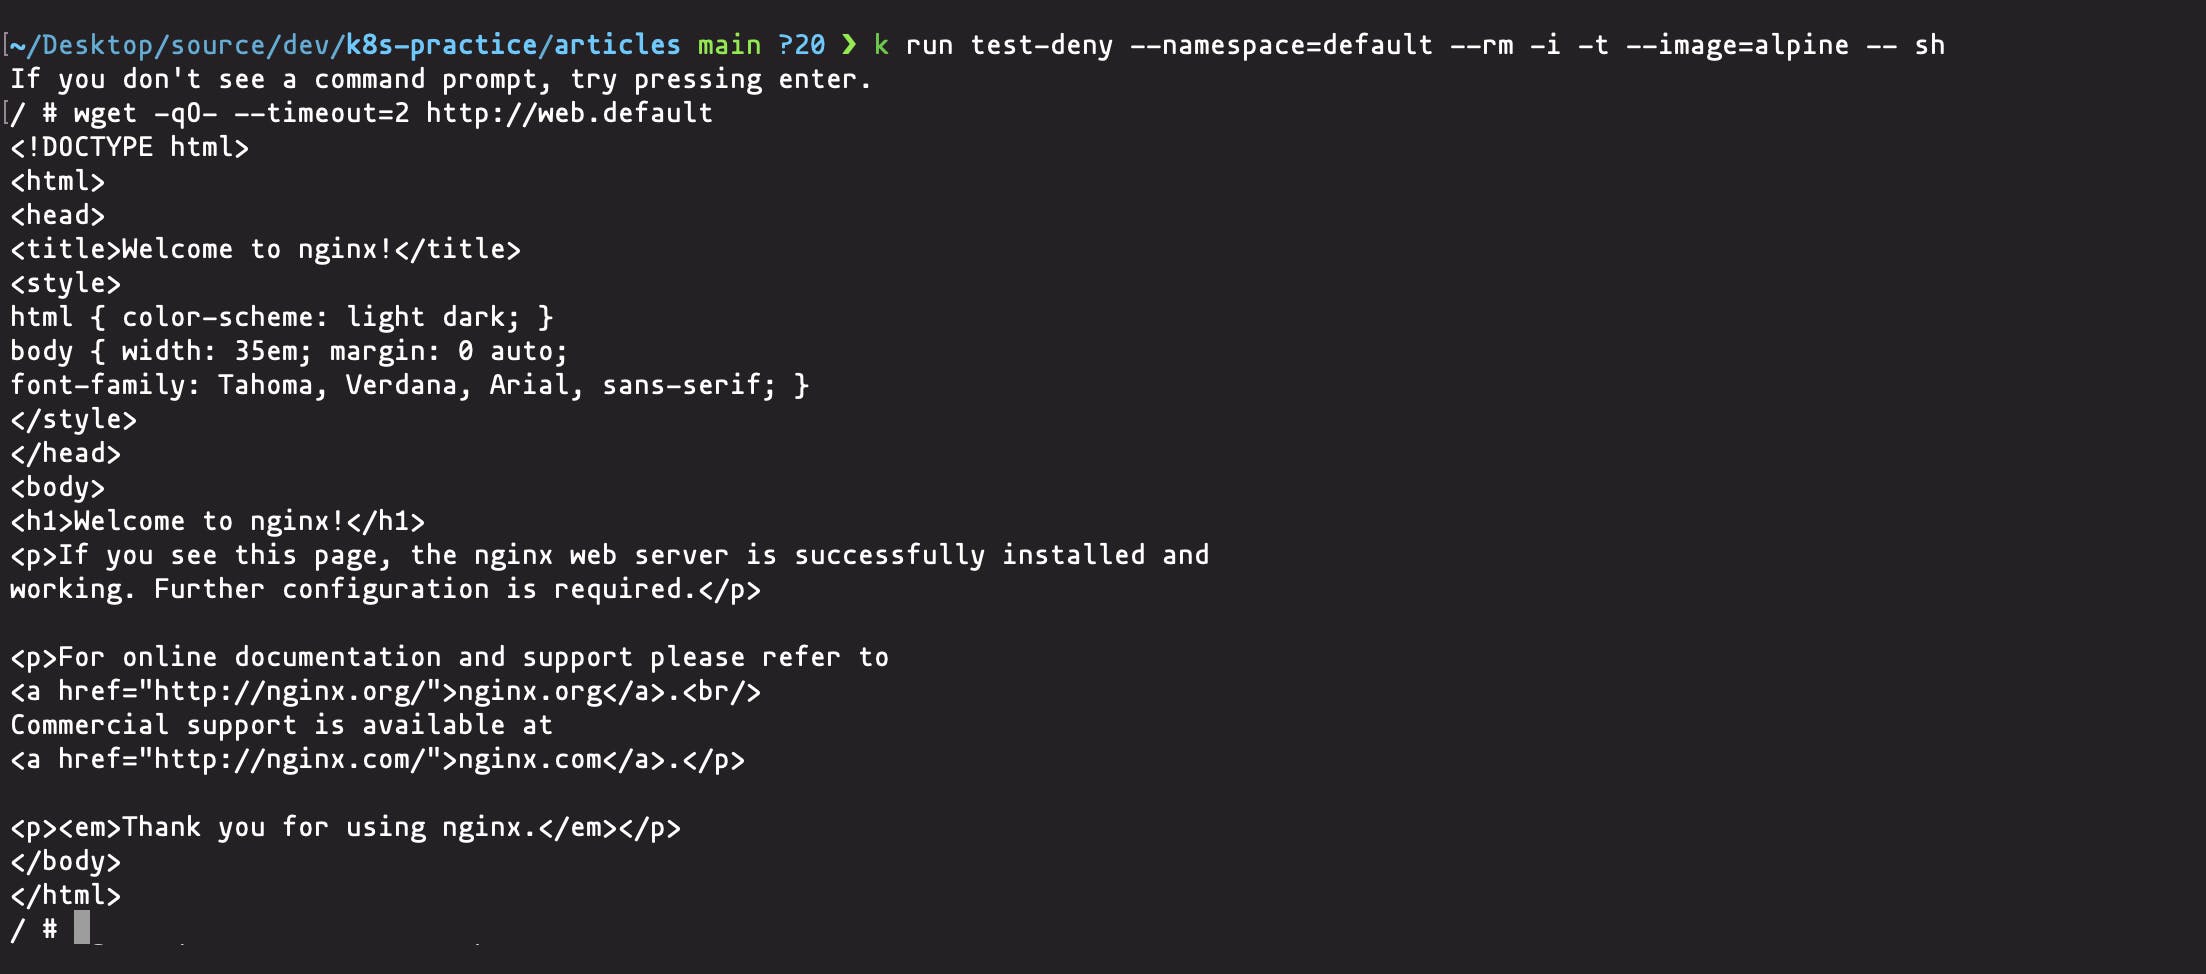
kubectl run test-deny --namespace=foo --rm -i -t --image=alpine -- sh
/ # wget -qO- --timeout=2 http://web.default
wget: download timed out
Execute the previous command but this time with the default namespace. You should get something similar to this
3 - ALLOW traffic from applications using multiple selectors
There are also scenarios where you want to combine multiple services that can forward traffic to a particular destination. This is useful when you need to share a component among many services. i.e sharing the Redis database among a couple of services with different labels and selectors. Network policy allows you to combine labels and selectors that can forward traffic to an application
Start a Redis pod and expose traffic on port 6379
kubectl run db --image=redis:4 --labels="app=backend,role=web" --expose --port=6379
Given the services below and the list of labels, you would like them to be able to access the Redis database irrespective of their labels
| service | labels |
| search | app=backend,role=search |
| api | app=backend,role=api |
| catalog | app=inventory,role=web |
kind: NetworkPolicy
apiVersion: networking.k8s.io/v1
metadata:
  name: redis-allow-services
spec:
  podSelector:
    matchLabels:
      app: backend
      role: web
  ingress:
  - from:
    - podSelector:
        matchLabels:
          app: backend
          role: search
    - podSelector:
        matchLabels:
          app: backend
          role: api
    - podSelector:
        matchLabels:
          app: inventory
          role: web
As you can see the in the configuration above, the policy selects the pod with labels app:backend and role:web, this picks the search, api and catalog services. The ingress config specifies the granularity of labels from each service. Also when you use multiple podSelector under the from specification, the conditions are OR'ed i.e an OR operation is performed on the selectors
Save the config in a file called redis-allow.yaml and run
k apply -f redis-allow.yaml
Run a pod in interactive mode, then use Netcat to check if the db service and port are open. The -v is for verbose option
kubectl run temp --labels="app=inventory,role=web" --rm -i -t --image=alpine -- sh

/ # nc -v -w 2 db 6379
db (10.59.242.200:6379) open

(works)
This shows the Redis database is allowing traffic on the port. You can also try accessing the database from a pod with a different label
$ kubectl run temp --labels="app=other" --rm -i -t --image=alpine -- sh

/ # nc -v -w 2 db 6379
nc: db (10.59.252.83:6379): Operation timed out

(traffic blocked)
Conclusion
Network policies let you control the flow of traffic in a Kubernetes cluster. As seen above, this is quite handy as it helps to restrict access to resources based on specific rules and requirements. It is also important to note that network policies are namespace scoped i.e They only have an effect on the namespace they are applied to. If you want to apply the policy across several namespaces, they have to be defined there as well.